How to Create a Watermark
This document explains how to set a watermark on an image.
Initial Screen 🖥️

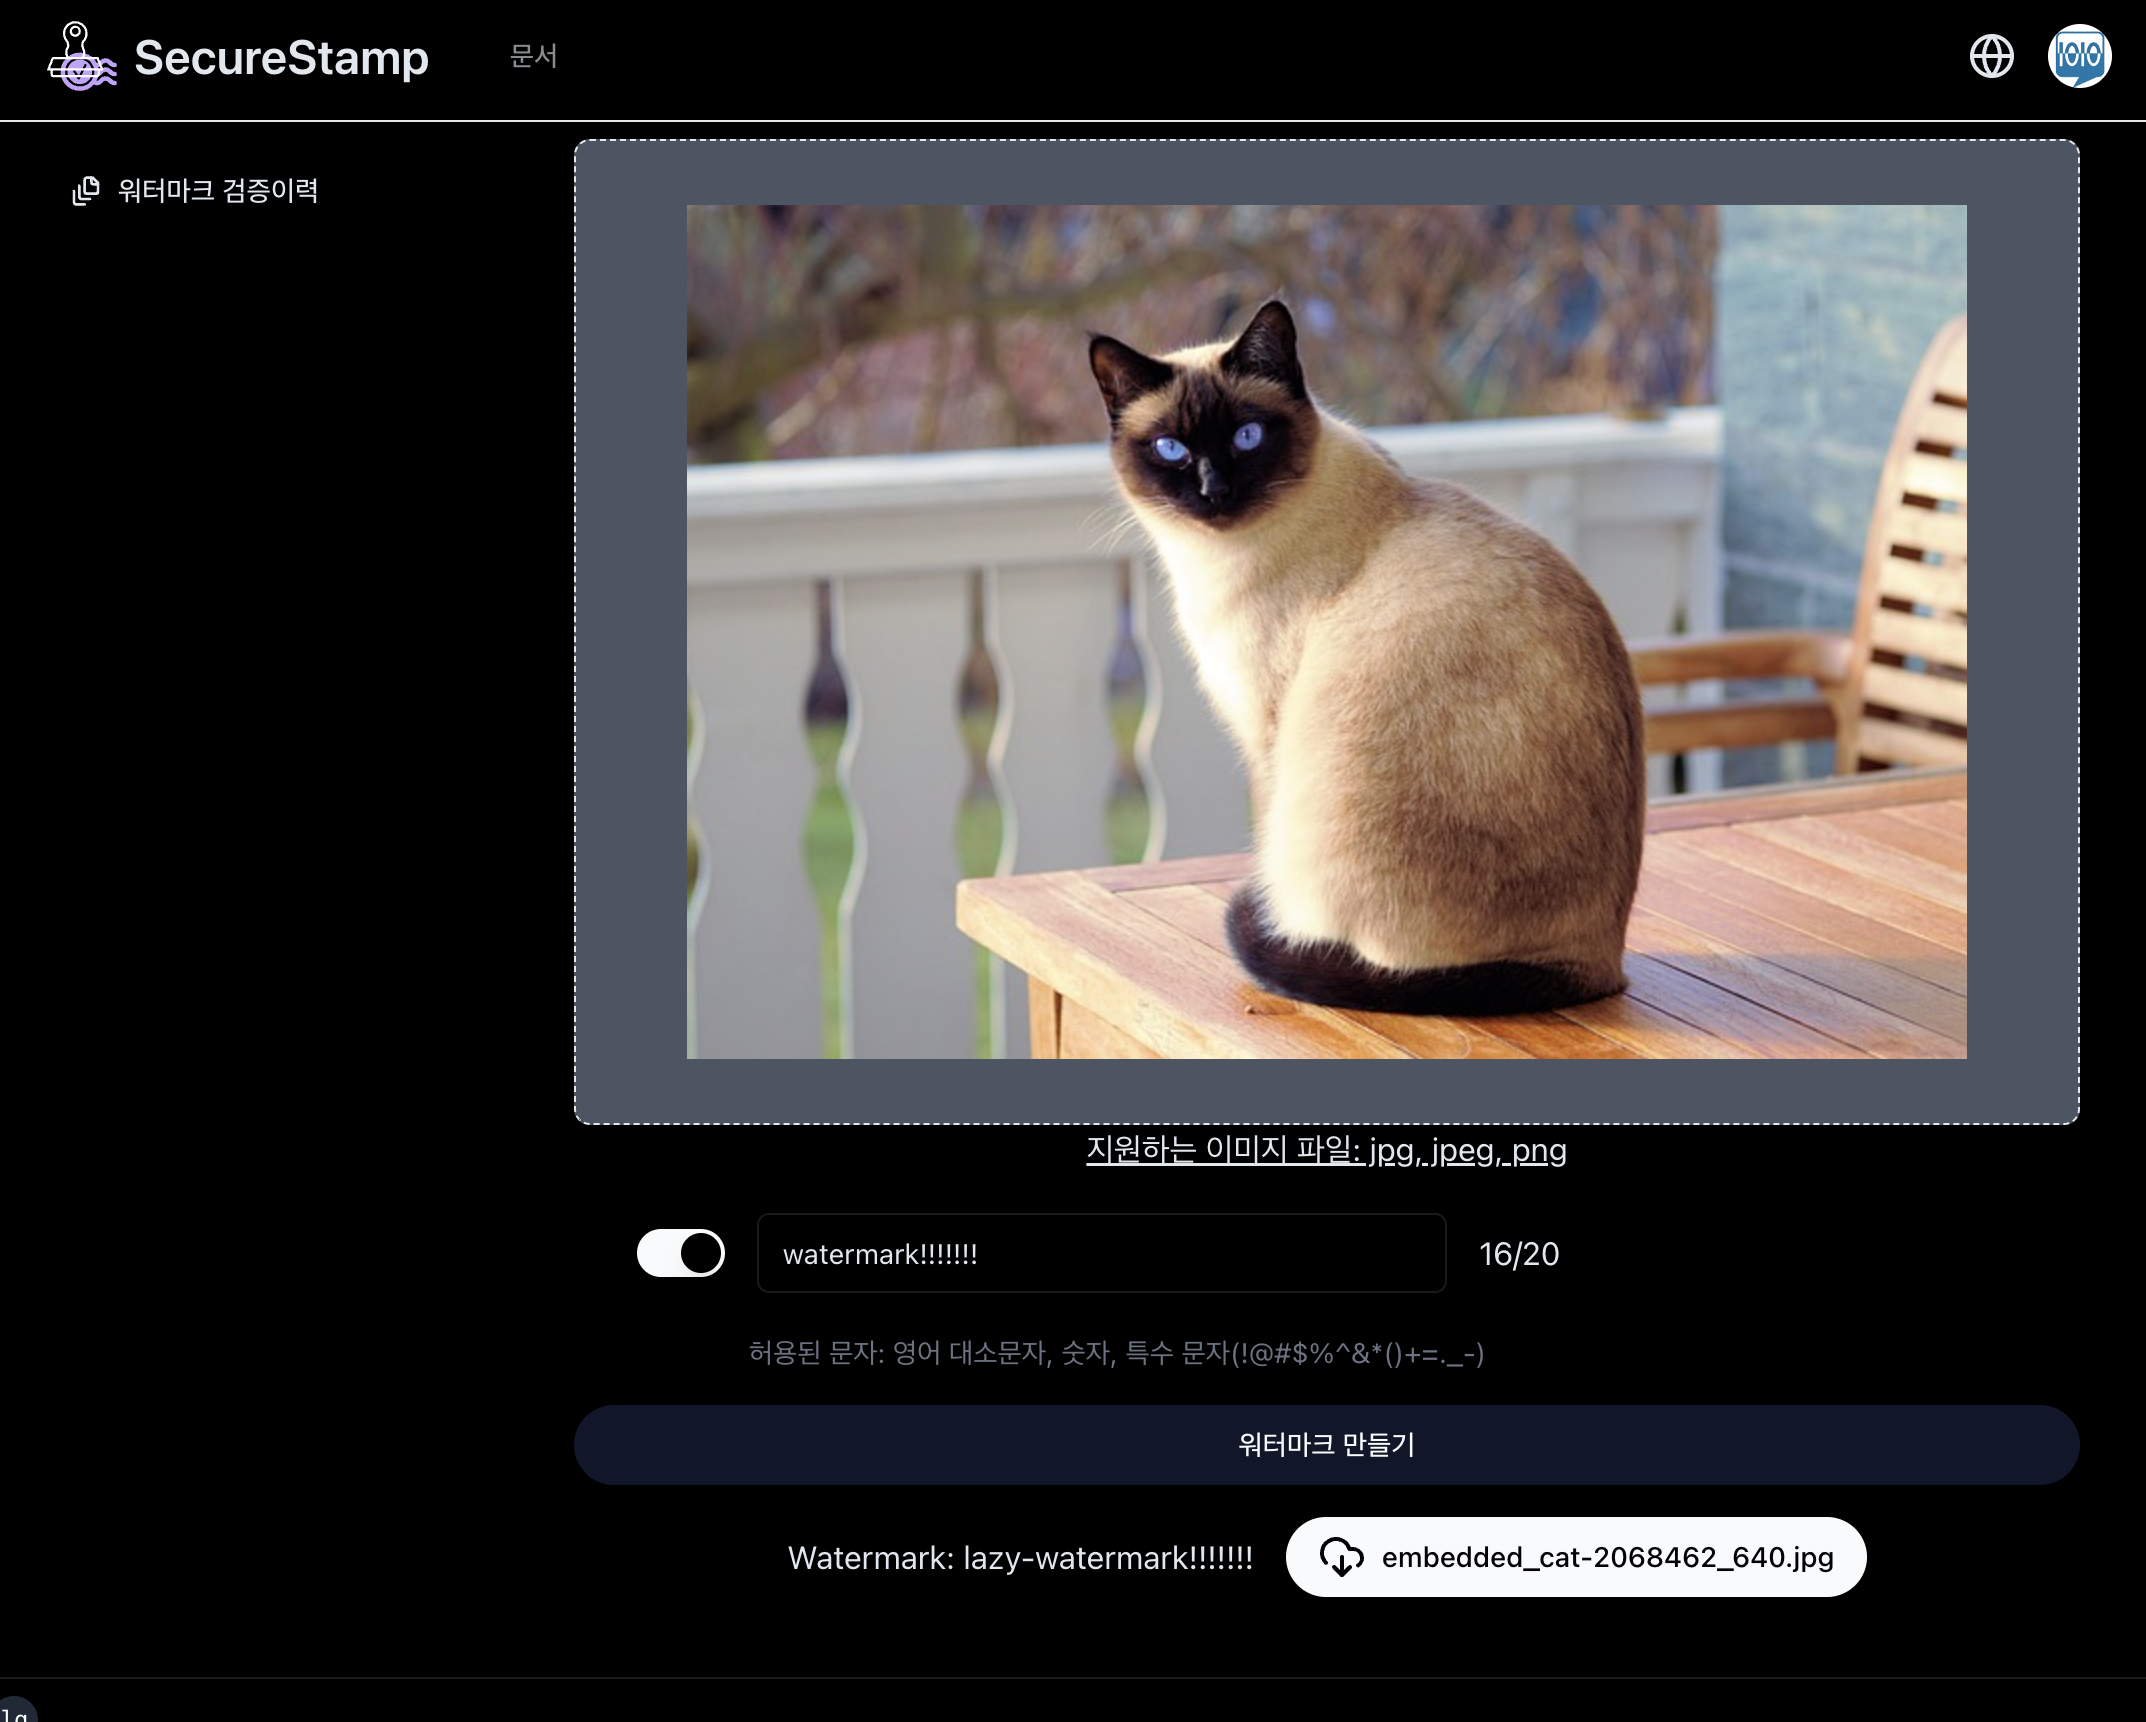
Select Image 🖼️

To select an image, click the "Select Image" button to upload an image from your local device. Supported image formats are JPEG, PNG, and JPG. Once an image is selected, it will be displayed in the preview screen. At this stage, you can review the image and select a different one if necessary.
Watermark Settings 📝

After selecting an image, you can set the watermark. By default, the watermark uses a random value, but you can set it through user input if needed. Enable the custom option and enter the watermark, and the entered watermark will be applied to the image.
Create and Download Watermark 📥

After setting the watermark, click the "Create Watermark" button to apply the watermark to the image. Once the watermark is created, you can download the generated image. Click the download button to download the generated image. The generated image is an image with the watermark applied, and you can compare it with the original image to check if the watermark has been applied.
📢 Note This platform is still under development. The watermark feature is currently under development, so sometimes the watermark may not be applied correctly. Please use the validation feature to check if the watermark has been applied correctly.